I had a request about how to retexture something without the original texture's wood grain showing through. Basically I recreate all the shading and shadows from scratch so it's tedious. I'm sure there are easier ways, I just don't know them.
If you can find a smooth solid (hopefully white or light) recolor of a mesh (no wood grain), that's always easiest:
Export that texture in SimPE, open it in GIMP and basically follow the steps I listed here in
another tutorial.
Instead of paint-bucket dropping your color into the 'color' layer you'll be pasting your wood texture there instead.
I'm using Awesims' simple desk as an example. We'll pretend its white recolor (see above) doesn't exist since this tutorial would be lazy otherwise.
I've exported its texture in SimPE and opened it in GIMP.
I use the default palette in the Palette Editor window for shading and highlights, I hardly ever chose anything darker than Grey 60% (fifth from last).
I usually go ahead and select Toolbar > View > Snap to Canvas Edges
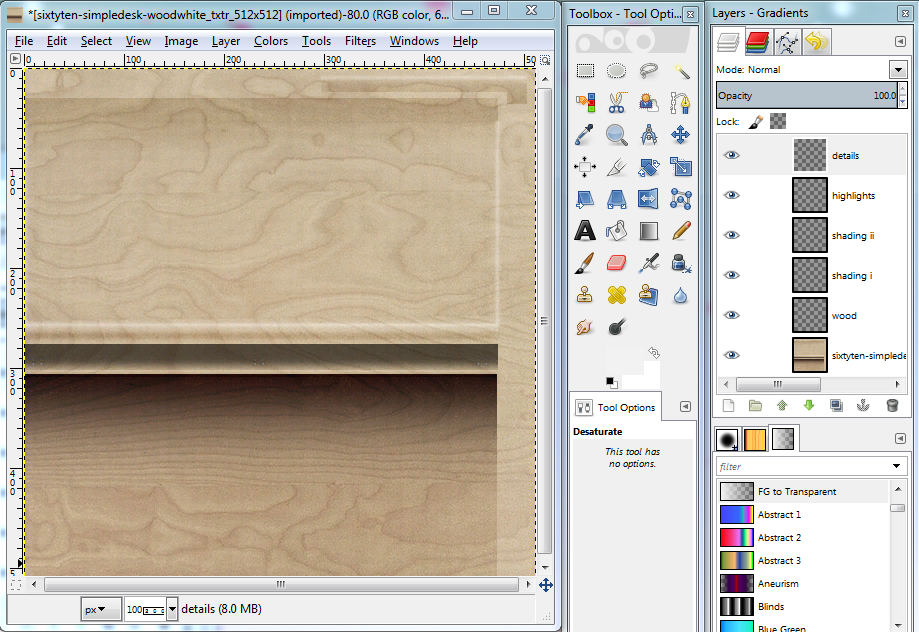
First thing I'll do is add some layers:
Shortcut ctrl-shift-n:
Layer name: wood
^ if this desk texture had vertical and horizontal grained wood sections, I'd add two - a wood v layer and a wood h layer
Shortcut ctrl-shift-n:
Layer name: shading i
Shortcut ctrl-shift-n:
Layer name: shading ii
Shortcut ctrl-shift-n:
Layer name: highlights
Shortcut ctrl-shift-n:
Layer name: details
^ this is where I put non-transparent things that stay the same for every rc: door knobs, the backs of pictures, etc.
So small it's not necessary but I like little touches like this:
awesims has 3 goups with 4 little nailheads each
in layers dialog, select details layer:
zoom in: shortcut 3 (300%) or even shortcut 4 for tiny little things like this if your eyesight isn't great
I'm just going to 'paint' one nailhead, copy/paste it 3 times on the neighboring ones, copy the new group of four nailheads and paste them over the other two groups.
I'll also add a drop shadow:
select all 12 nailheads, ctrl-x/ctrl-v so they're floating
Toolbar > Filters > Light and Shadow > Drop Shadow...
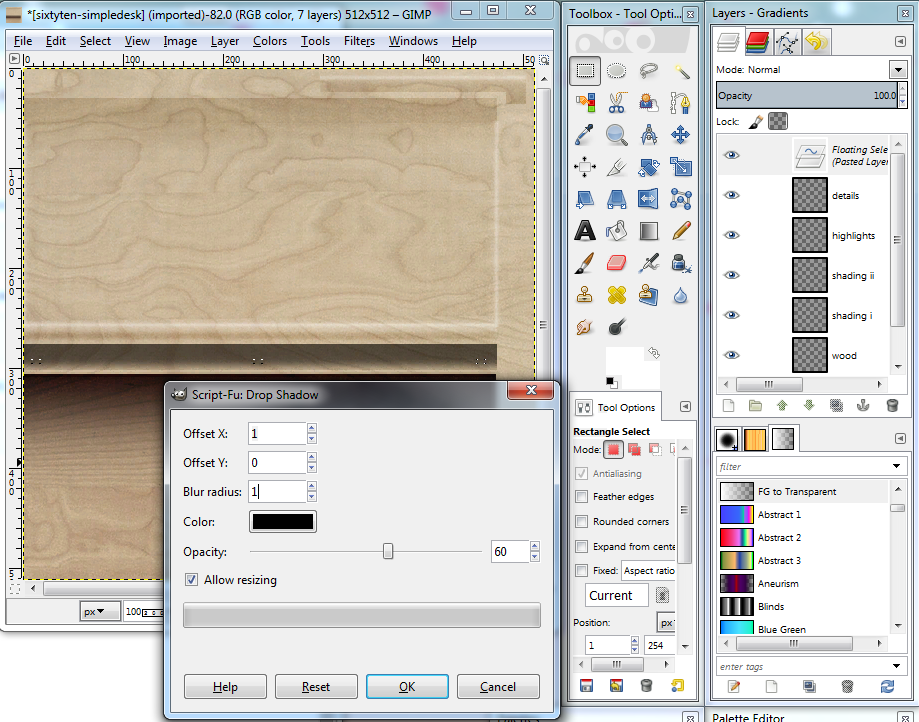
After clicking OK, click on your texture and ctrl-h to anchor the nailheads back onto the details layer. In layers dialog select the new Drop Shadow layer and click the green down arrow so your shadow is under the details layer.
Shading:
Select shading i layer
I'll do the 3 gradient shadows on this layer
Palette Editor: choose Gray 70%
I've zoomed in 3 and R selected the (darkest) top line of the largest gradient shadow (473x1)
shortcut shift-B (paint bucket) and drop in a paint bucket of Gray 70%
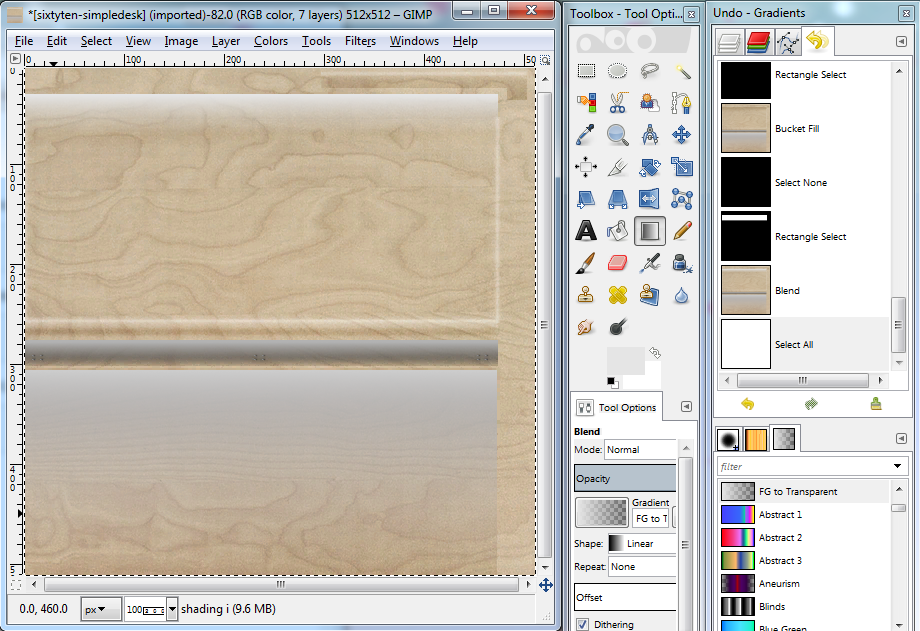
Beneath the layers dialog, there are 3 tabs: brushes, patterns, and gradients
Select the gradients dialog and the FG to Transparent filter (FG = ForeGround)
R select that entire shadow area now and scroll to the left edge of your texture
shortcut L (Linear)
along the left edge of your texture, click and drag your mouse from your gray line down to almost the very bottom, when you release your mouse it's magic *-*
It takes a little practice, it's a pretty sensitive tool so just ctrl-z (undo) until you get one you like. Dragging your mouse down the edge of your texture is where Snap to Canvas Edges is useful.
Add another 473x1 gray line to the shadow above and do the same steps, you'll be dragging your gradient tool a much shorter distance obviously.
There's a much lighter gradient shadow at the top of the texture, select Gray 90%
Add your 473x1 lighter gray line and follow the steps again, here's what my three gradient shadows looked like:
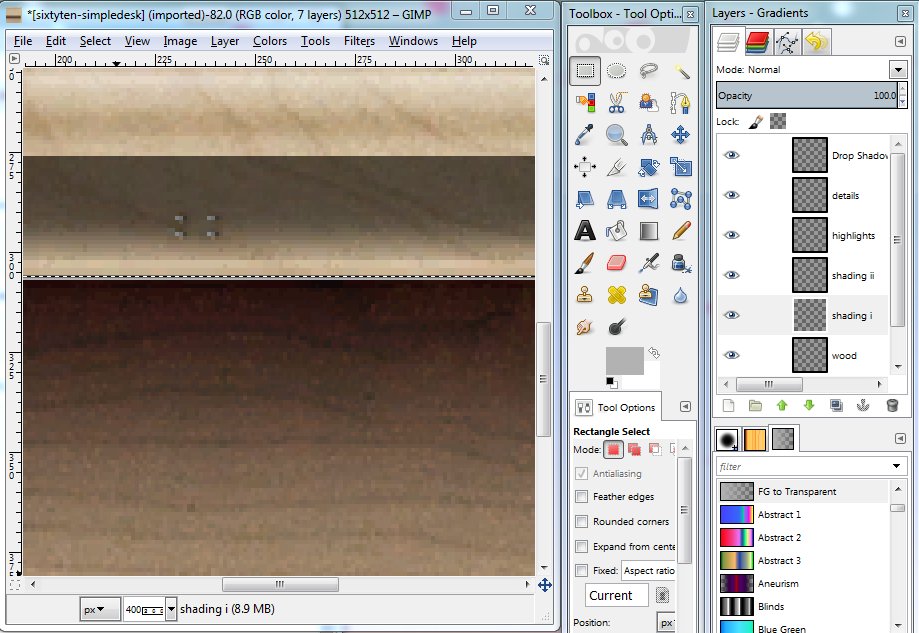
Shading Continued:
Select shading ii layer
The upper right has a (mostly) hard edged shadow. I'm just going to R select in two sections and paint bucket drop Gray 90% into both.
The middle of the texture has a fuzzy shadow.
R select that area, it's about 473x8.
Paint bucket drop in Gray 80%
R select the same area but add a little on top and bottom, mine was 473x14
Toolbar > Filters > Blur > Gaussian Blur...
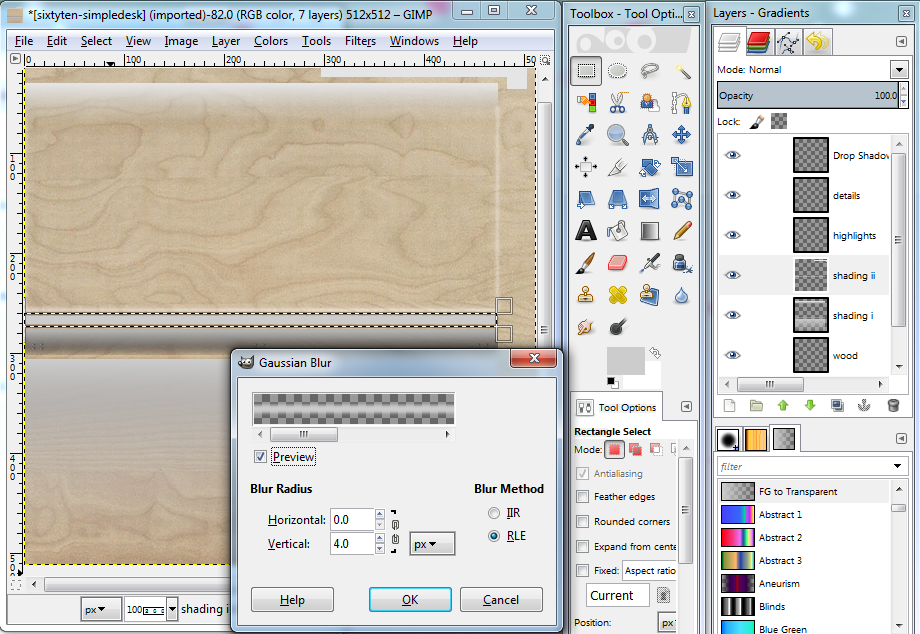
So now we're familiar with Rectangle Select and Gaussian Blur and the Linear Gradient Tool.
I'm going to use the same methods for the highlights layer except use Gray 95% for all of them
Where is Gray 95%?
Select Gray 90% in the palette editor
That's now the foreground color, click it in your Toolbox Window
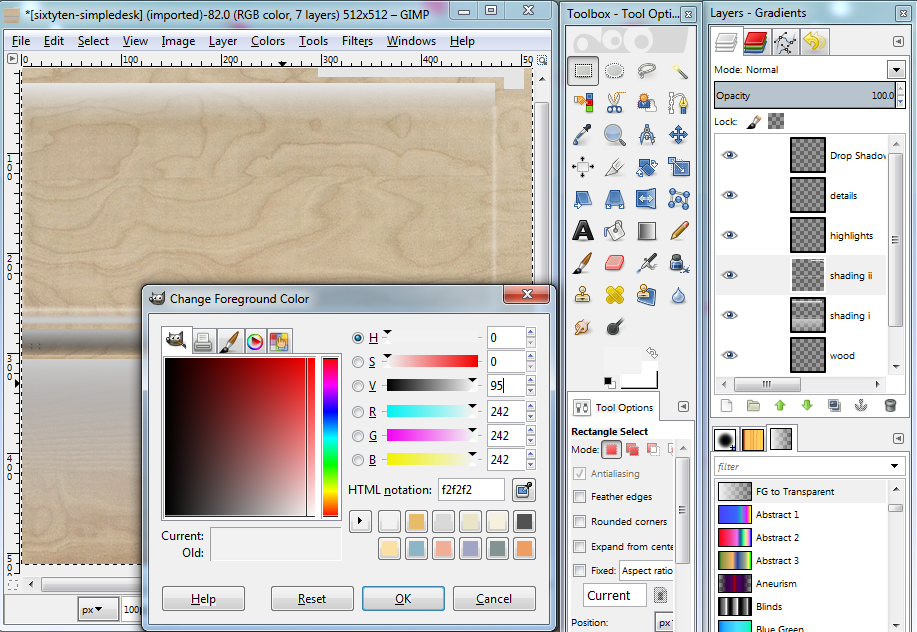
Adjust the value.
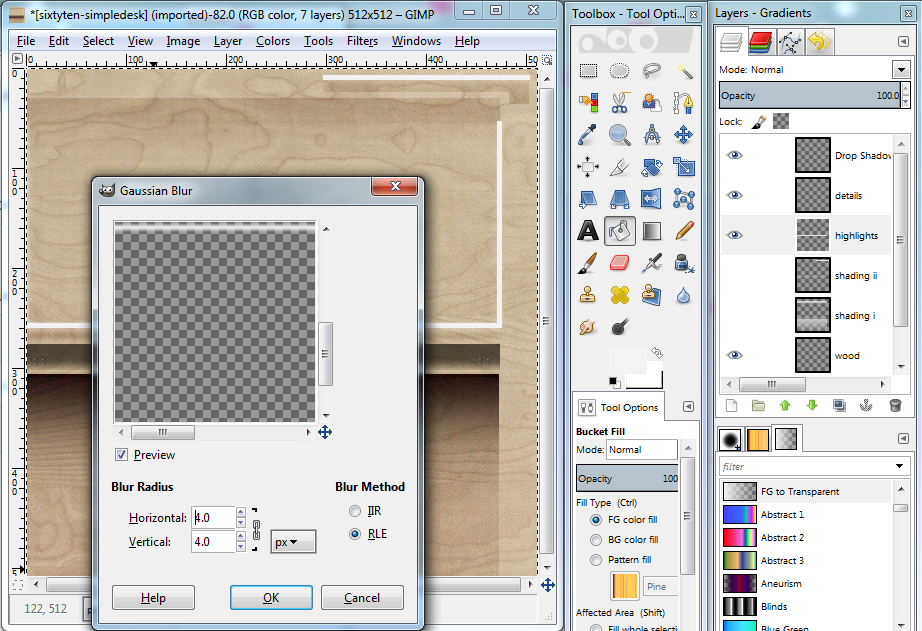
Select highlights layer
There's a short fuzzy highlight and an L-shaped fuzzy highlight so paint bucket drop in three rectangles, about 5 px wide.
Follow the Gaussian Blur steps
Turning gray splotches into shadows:
Select shading i layer
Toolbar > Colors > Color to Alpha...
Select shading ii layer
shortcut ctrl-f (repeats last filter action you performed so it'll Color to Alpha... this layer too)
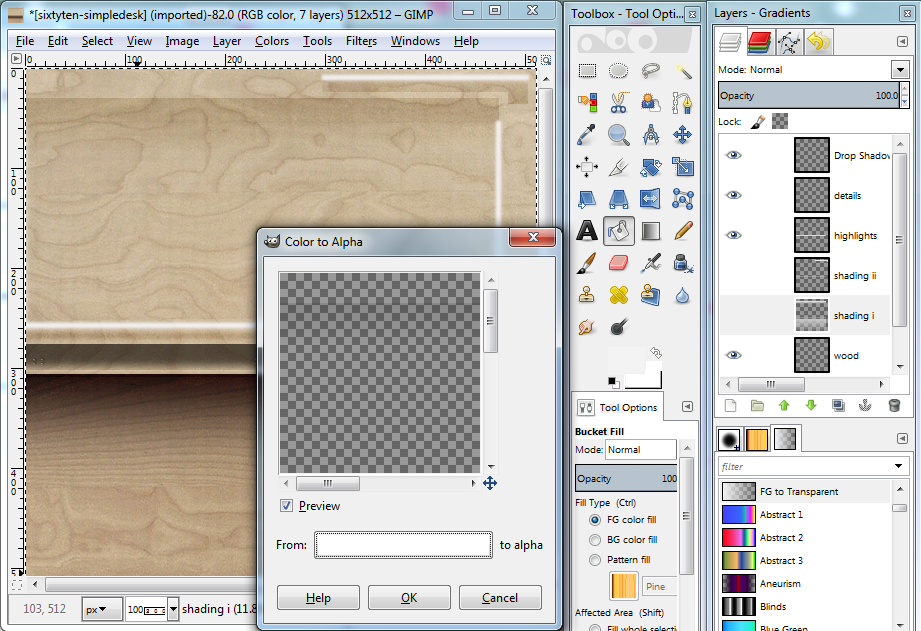
Turning gray splotches into highlights:
Select highlights layer
Toolbar > Colors > Color to Alpha...
In 1st window, click the white bar between From: ... to alpha
A 2nd window "Color to Alpha Color Picker"
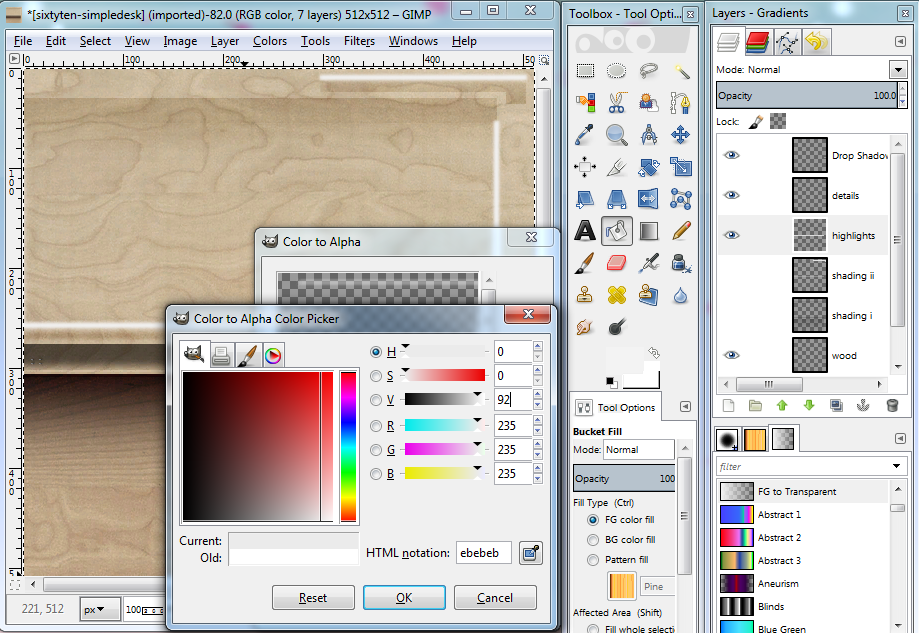
So...
Color to Alpha... at the default 100 value is very transparent and best for shadows, basically a transparent grey splotch
Color to Alpha... at less than 100 value is slightly less transparent and seems to work better for highlights. I usually choose a value somewhere between 88-94. Using darker than Gray 95% will also affect opacity.
I'm still figuring what values work best, still figuring out highlights in general. 92 was actually too low, I ended up choosing 94.
Almost done:
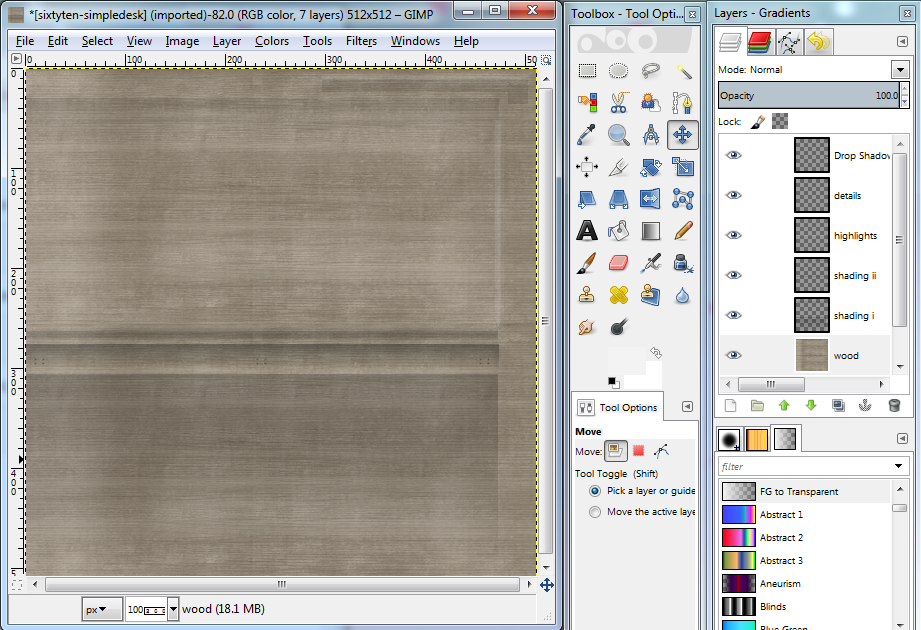
Select wood layer
copy/paste in your wood texture
Here's where I'd make a recolor and open my game, I might want to darken up some of the shading after I've seen it in game.
I usually just fiddle around with Toolbar > Colors > Brightness-Contrast and Hue-Saturation if a shadow seems too dark or too faint in game. For shading layers it's very useful to remember to Color to Alpha... at 100 value AGAIN after you've fiddled.
Highlights require more work and you can just unselect their 'eye' in the layers dialog if you don't feel like fiddling with them.
These highlights will look fine on rowboat and driftwood as is.
White pirate wood: Select the highlight layer and copy/paste it onto itself two times for it to actually be noticeable.
Charcoal pirate wood: Select the highlight layer - Toolbar > Colors > Hue-Saturation... adjust lightness to -40 or so
Twig pirate wood: Select the highlight layer - Toolbar > Colors > Colorize...
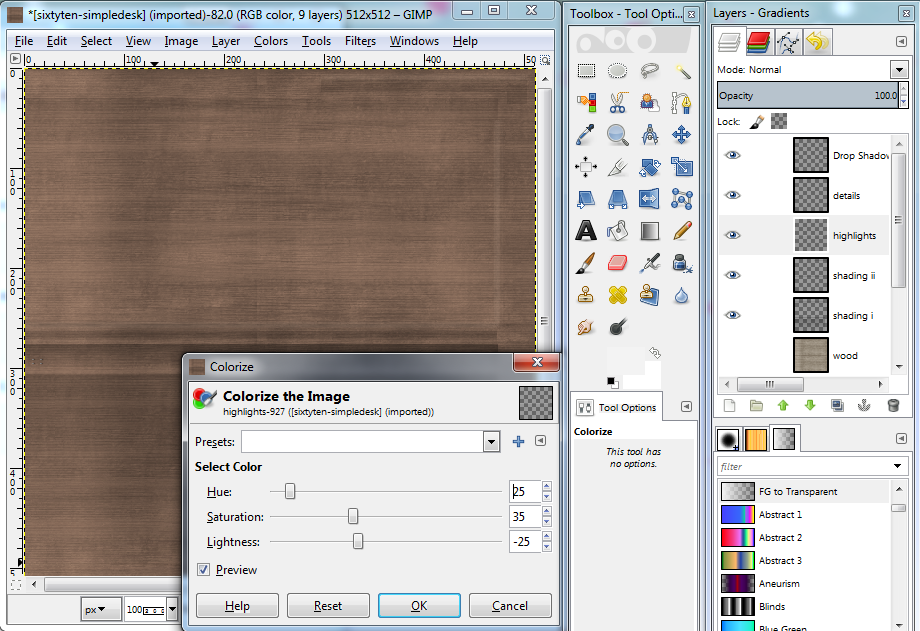
Doesn't have to be these exact settings but you get the idea.
Here's the PSD to refer to or just use for your own recolors. I'm very happy to try to answer questions here or anon asks at my simblr are fine too.

